How to Glue & Frame a Jigsaw Puzzle
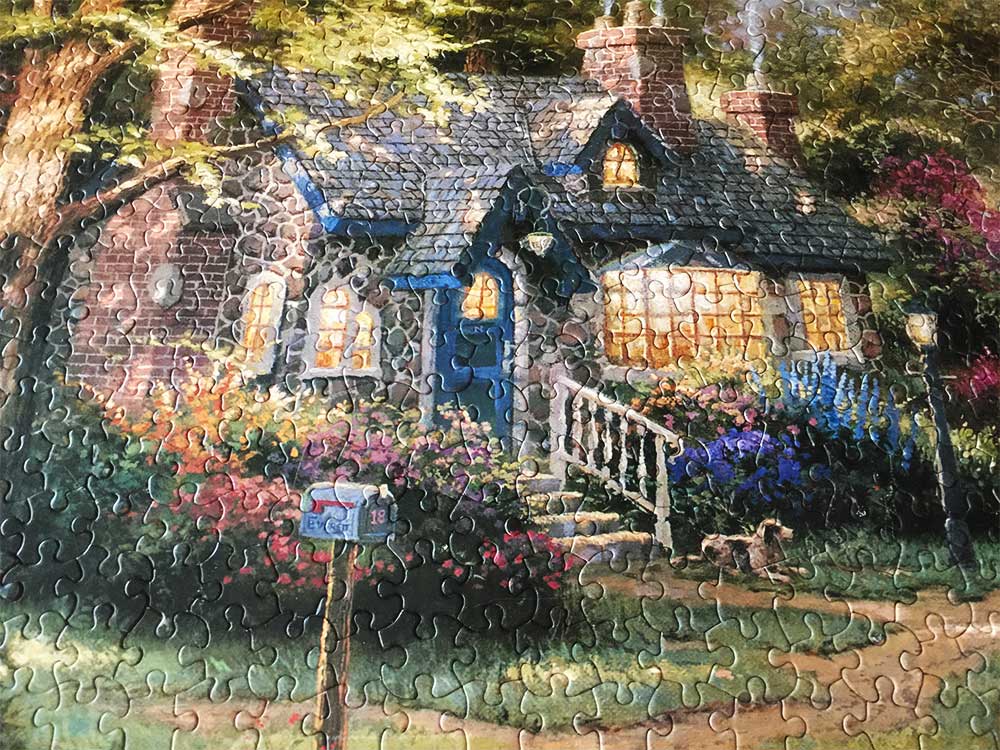
Gluing a puzzle isn’t too complicated, but it does require the right tools and a little bit of patience! Today I wanted to share some of my tips and techniques for gluing puzzles.
Supplies & Materials Needed
The two most important supplies you need to glue a puzzle together are are Matte Mod Podge and a foam paint brush. You’ll also need some wax paper to protect your table surface.
I do realize there are a number of companies that make a special puzzle glue, including Mod Podge, but I’ve truly found that the Matte Mod Podge gives me the best results.
Mod Podge Waterbase Sealer, Glue and Finish (16-Ounce), CS11302 Matte Finish (Single pack)
Features
| Binding | Kitchen |
| Brand | Mod Podge |
| Catalog Number List | XTL-0552; 131006; NMC131006 |
| Color | Matte |
| EAN | 0028995113024 |
| EAN List | EAN List Element: 0028995113024 |
| Hazardous Material Type | Unknown |
| Item Dimensions | Height: 600; Length: 290; Weight: 100; Width: 290 |
| Label | Plaid Inc |
| Languages | Name: English; Type: Unknown |
| Manufacturer | Plaid Inc |
| Manufacturer Minimum Age | 120 |
| Model | CS11302 |
| MPN | CS11302 |
| Package Dimensions | Height: 280; Length: 610; Weight: 120; Width: 280 |
| Package Quantity | 1 |
| Part Number | CS11302 |
| Product Group | Home |
| Product Type Name | HOME |
| Publisher | Plaid Inc |
| Release Date | 2009-04-05 |
| Size | 16 oz |
| Studio | Plaid Inc |
| Title | Mod Podge Waterbase Sealer, Glue and Finish (16-Ounce), CS11302 Matte Finish (Single pack) |
| UPC | 028995113024 |
| UPC List | UPC List Element: 028995113024 |
You can buy a gallon of it like I did, but I think for most people the 16 oz jar of Matte Mod Podge is plenty for at least 2-3 puzzles.
If you want a lot of shine and gloss, you can opt for the glossy version, but I really love the matte finish!
A foam brush is also very important, because it allows you to apply the glue without seeing any sort of brush strokes. You can totally use a regular old paint brush if you want, but this will leave brush strokes!
Foam brushes like these ones are inexpensive and you can order them online or find them at just about any store that also sells paint or stain.
Vanitek 10 Piece Flat Flexible Poly Foam bevel-tipped Brush Set with Wooden Handles - Ideal for Applying Paint, Oil-Based Paints, Stain, Varnish, Enamel, Latex Paint, Smooth Surfaces, Arts & Crafts
Features
| Brand | Vanitek |
| Catalog Number List | Catalog Number List Element: 2347 |
| Color | Black |
| EAN | 0815518023478 |
| EAN List | EAN List Element: 0815518023478 |
| Label | Vanitek |
| Manufacturer | Vanitek |
| Model | 2347 |
| MPN | 2347 |
| Package Dimensions | Height: 100; Length: 770; Weight: 15; Width: 610 |
| Package Quantity | 10 |
| Part Number | 2347 |
| Product Group | Art and Craft Supply |
| Product Type Name | ART_AND_CRAFT_SUPPLY |
| Publisher | Vanitek |
| Size | 1" 2" 3" 4" |
| Studio | Vanitek |
| Title | Vanitek 10 Piece Flat Flexible Poly Foam bevel-tipped Brush Set with Wooden Handles - Ideal for Applying Paint, Oil-Based Paints, Stain, Varnish, Enamel, Latex Paint, Smooth Surfaces, Arts & Crafts |
| UPC | 815518023478 |
| UPC List | UPC List Element: 815518023478 |
Once you have those basic supplies, you are ready for the next steps!
Step 1: Place the Puzzle Artwork Side Up on Wax Paper
It’s important to protect the table surface you are working on, and of course you do not want to accidentally glue the puzzle to the table! {Although that could be fun for a DIY project!}
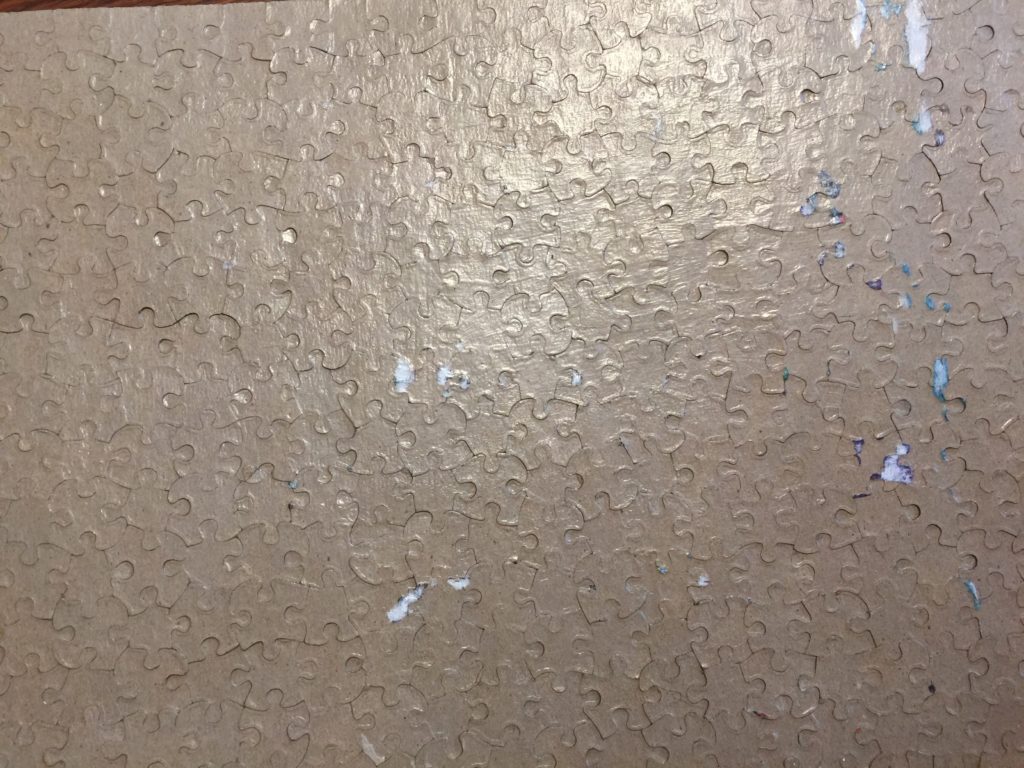
Wax paper is ideal for this because the glue will not stick to the wax paper. If you use newspaper or other paper surface, it’s quite likely the glue will stick to paper. {Most puzzles are cardboard, afterall!}
Step 2: Brush On Your First Light Coat of Mod Podge onto the Puzzle
I always start with the “good side” of the puzzle first, because this is usually already the side that is facing up. This will also help ensure the front of the puzzle has a smooth finish before you do the backside.
I use the foam brush and apply it in thin, even strokes from one side to the other.
I start at the top left of the puzzle so that I don’t accidentally bump into parts that already have glue on them – that could cause an uneven surface. If you are left handed, you may want to start at the top right side of the puzzle.
You do not want to use too much glue! Using too much or applying it too thick at first can cause some issues!
Once the first coat of glue is applied, I like to let it dry naturally for at least 6-12 hours, if not 24.
Step 3: Apply a Second Coat
Once the first coat is dry, you are ready to apply a second coat to the front. This will help make it a little sturdier when you go to flip the puzzle over AND helps give it a nice and even finish.
Let the second coat dry completely before moving onto the next step.
Step 4: Repeat Steps 2 & 3 for the backside of the puzzle
Once you have two coats on the front size of the puzzle, you are ready to repeat the same process in applying the mod podge to the back of the puzzle.
I’ve found the easiest way to do this is to place wax paper on top of the puzzle and then very carefully slide and flip it around. This can help prevent any pieces from accidentally shifting out if they weren’t completely glued together.
After the first coat on the back is dry, apply a second coat and allow for it to dry completely.
Step 5: Frame, Hang & Enjoy!
Once both sides are dry, you are ready to frame and hang up your puzzle! I love using a simple black poster sized frame and giving it a white matboard border – this really helps it look nice and professional.
Mod Podge Jigsaw Puzzle Frame Kit - For Puzzles Measuring 26.5x38.5 Inches
Features
| Binding | Office Product |
| Brand | Mod Podge |
| EAN | 0720843844929 |
| EAN List | EAN List Element: 0720843844929 |
| Label | Mod Podge |
| Manufacturer | Mod Podge |
| Package Quantity | 1 |
| Product Group | Office Product |
| Product Type Name | OFFICE_PRODUCTS |
| Publisher | Mod Podge |
| Size | 26.5 x 38.5 Puzzle Frame Kit |
| Studio | Mod Podge |
| Title | Mod Podge Jigsaw Puzzle Frame Kit - For Puzzles Measuring 26.5x38.5 Inches |
| UPC | 720843844929 |
| UPC List | UPC List Element: 720843844929 |
If the idea of cutting your own matboard and framing it seems a little daunting, the exciting news is there are a number of companies that now make their own puzzle frame kits like the one shown above.
Mod Podge sells a number of puzzle frame kits – and best of all they include the glue and foam brushes with them!
Gluing and framing a puzzle doesn’t have to be complicated and it’s a great way to preserve all of your hardwork, especially if it was a puzzle you really enjoyed!
Do you have any tips for how to glue a puzzle? Share your experiences & tips in the comments section below!




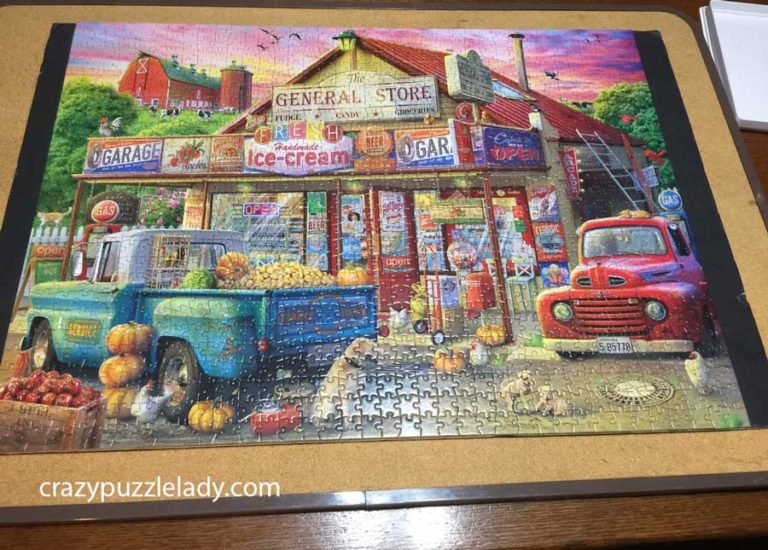


HELP!! I recently put a puzzle together and I noticed the pieces didn’t fit tightly together, as I went to glue it I put the first coat of glue on and let it dry overnight, I then put a second coat on but saw that the puzzle wasn’t staying together. I have never had a puzzle do this before. I let the second coat dry for about 2 days before attempting to flip it. As I flipped it the puzzle started to fall apart, so I left the picture side up, put it back together and reglued the areas that fell apart again. I again left it dry for more than a day and as I flipped it pieces once again started falling off. I put those pieces back together and started to glue the back. It looks like the puzzle pcs have swelled and it’s not laying flat anymore and the pcs are still not staying together. Can you give me any suggestions as to what I have done wrong? or how I could fix it? This is so frustrating! Thank you